

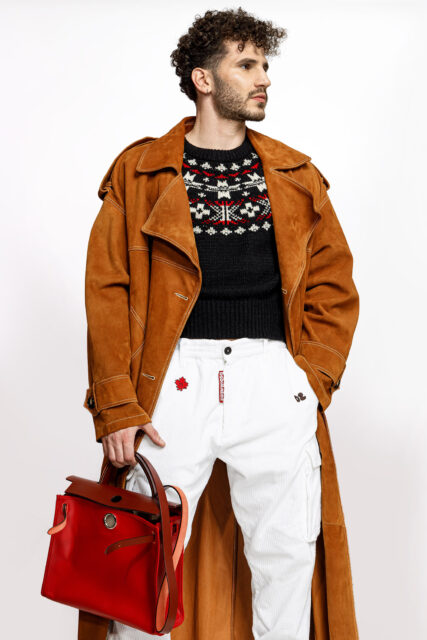
Presenting your products in the best light can significantly impact sales. In this guide, we’ll provide you with a step-by-step approach to capturing stunning photographs of your items. Learn essential tips on lighting, angles, and backgrounds to showcase your products effectively.
Equipment needed:
- A digital camera or a smartphone with a good camera.
- A clean and clutter-free surface to place the item on.
- A well-lit area or a photography lightbox.
- Optional: Tripod or stable surface to avoid camera shake.

Preparation:
- Clean the item thoroughly to ensure it looks its best.
- Remove any distracting elements or clutter from the background.
- Set up your photography area with good lighting.

Composition:
- Place the item on the clean surface.
- Position it in a way that highlights its features and details.
- Consider capturing multiple angles to provide a comprehensive view.

Lighting:
- If using natural light, position the item near a window with diffused light.
- Avoid direct sunlight as it can create harsh shadows.
- If using artificial light, place the light source evenly to avoid shadows.
Focus and stability:
- Ensure your camera or smartphone is focused on the item.
- Use a tripod or stabilize your device to avoid blurry images.

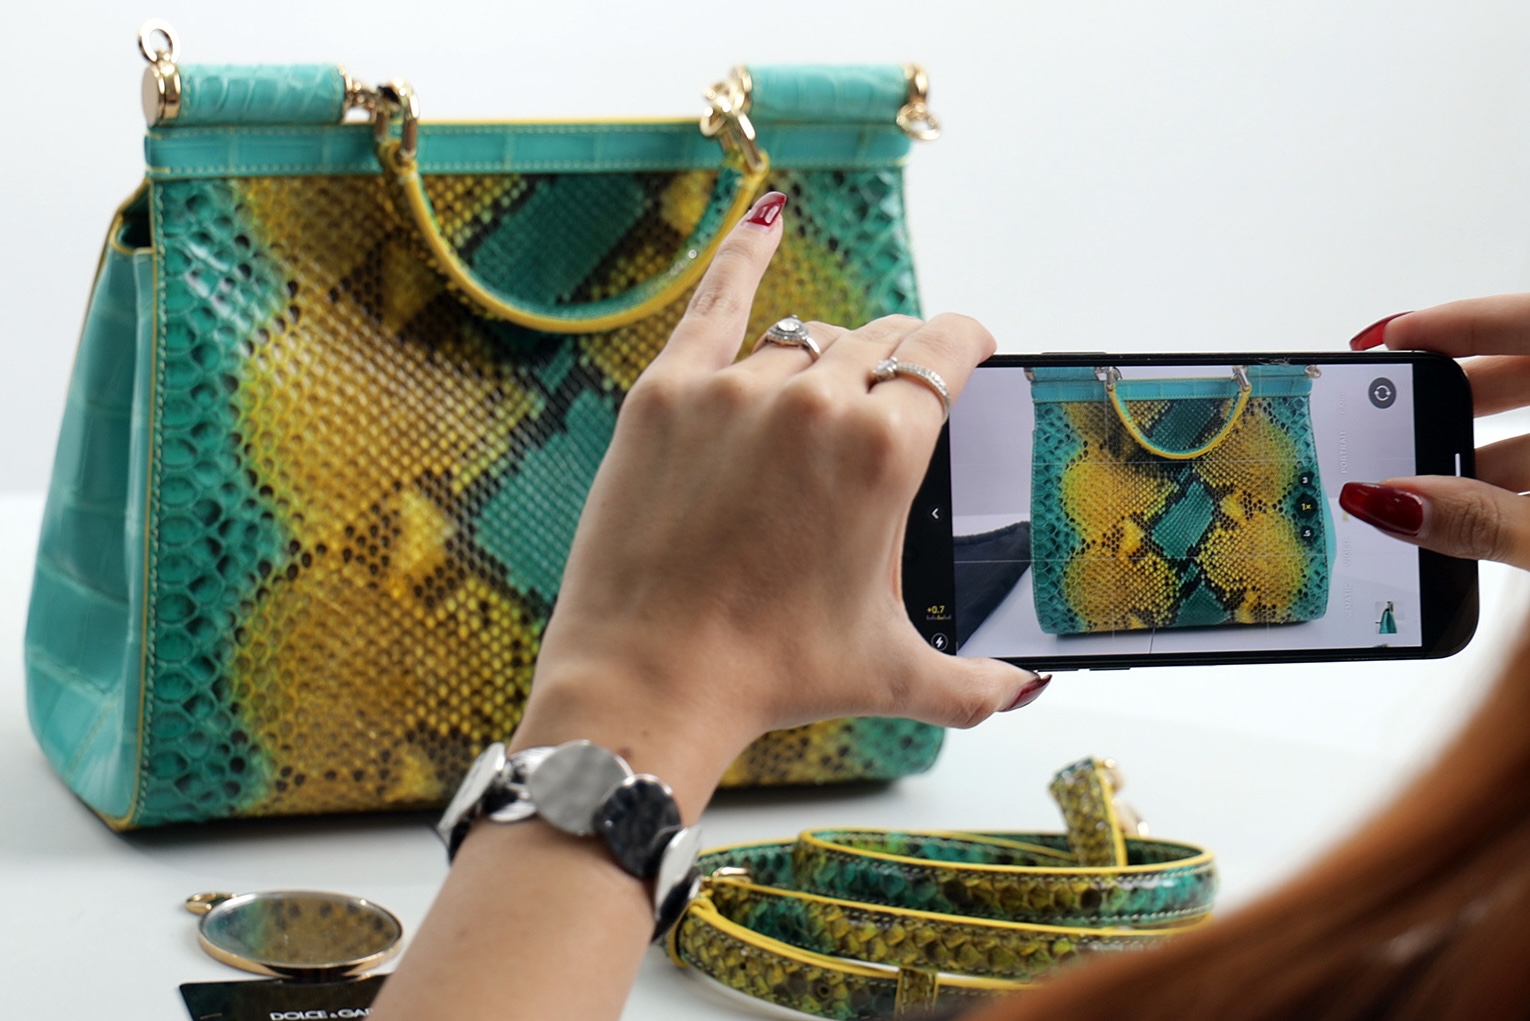
Capture the images:
- Take multiple shots from different angles.
- Zoom in to capture intricate details.
- If applicable, take close-ups of any flaws or imperfections to ensure transparency with potential buyers.

Image editing (optional):
- Transfer the images to your computer or use editing apps on your smartphone.
- Adjust brightness, contrast, and saturation if needed.
- Crop the images to remove any unwanted elements (if applicable)
Review and select:
- Review all the images you captured.
- Select the best ones that accurately represent your item.
Upload and showcase:
- Upload the selected images to Lifestylepop.com
- Arrange them in a visually appealing order.
- Include any relevant captions or descriptions to enhance the listing.
Conclusion:
Congratulations! You have successfully taken high-quality pictures of your item for selling online.
Remember, taking clear and well-composed pictures is essential for online selling success. Good luck with your sales!
Sincerely,
Lifestylepop Team